Our kitchen isn’t huge but we felt it was big enough to accommodate a kitchen island. The intention was for a small kitchen island with seating and some extra storage. Despite days weeks of online searching for an island we were unable to find one that would fit in our kitchen and offer the kitchen storage that we needed. I even enquired in the local area to see if there was a joiner that would be able to produce something for us but this search remained fruitless. Not being the most talented at DIY, nevertheless we started thinking about whether it would be possible to make our own kitchen island.
We watched a few YouTube videos and read a few blog posts and decided to give it a try, at least we would be able to create a bespoke kitchen island that would suit our needs. In my mind I knew I wanted seating, preferably room for four stools, but realistically there would only be room for two stools around the island – plus standing room too of course! I also hoped for a cupboard or two and some deep drawers, just for a bit of extra clever kitchen storage.
We actually found a Wickes YouTube clip that made it look really simple and explained all the items that we would need to buy so this formed the basis of our plan.
How much space do you need around a kitchen island?
The first thing we needed to do was measure the space in the kitchen to decide how big an island would fit in the kitchen. You need to allow at least a metre between the island and the surrounding cupboards or walls to enable people to comfortably move around the kitchen.
How big should a kitchen island be?
We read that a kitchen island should be at the very least 100cm by 100cm, however we knew we did not quite have the space for this. With this in mind we decided that the best size for our kitchen island was approximately 90cm by 90cm. Now this is not a huge island by any means but 90cm deep would work just fine because kitchen units are usually 60cm deep, leaving 30cm for a breakfast bar to accommodate some seating. If this doesn’t sound very clear, I promise it will later on. The width of kitchen units can vary but to maximise our storage within the space we had available we opted for a 60cm cupboard base unit and a 30cm base unit with three drawers.
Is it easy to build your own kitchen island?
If you are good at DIY then it would be really easy to design and make your own kitchen island. If you are ok at DIY and do some research then I would say you would be able to build your own kitchen island, although you might find some parts tricky, you would definitely be able to do it.
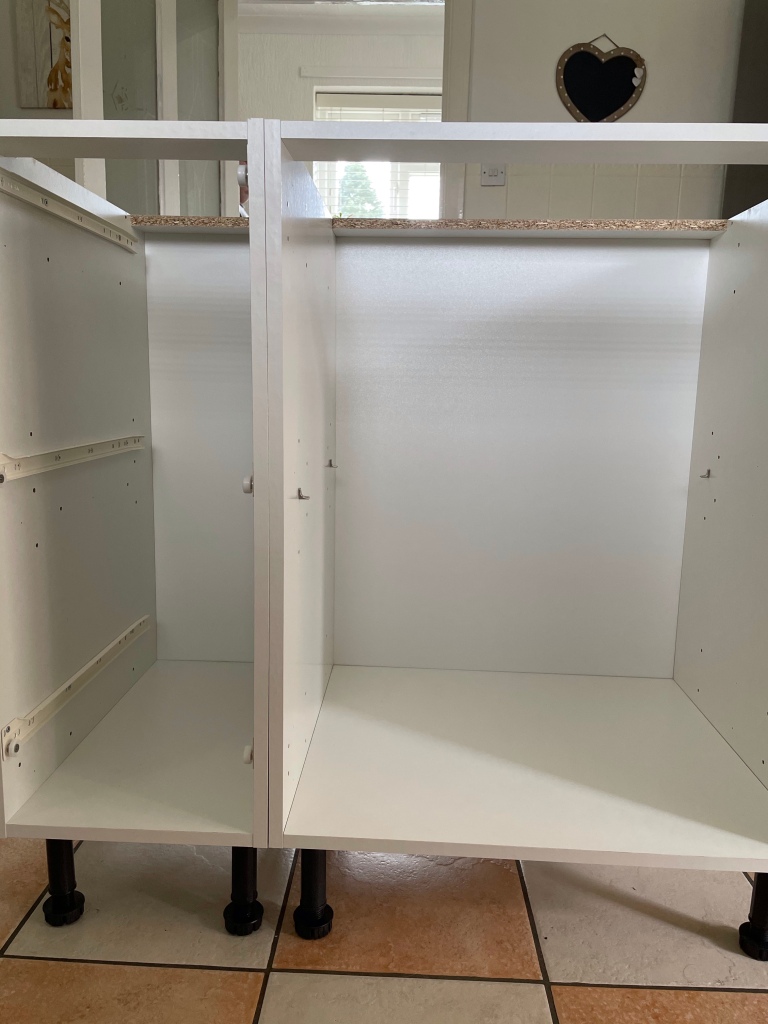
The first thing we needed to do was assemble the base units, we bought ours from Wickes as we discovered a range with cream base units which would match the tiles in the kitchen. We followed the instructions provided with the base units and assembled them. Once this was done we needed to place the units together and screw them together securely. You may find there are pre-drilled holes or you may need to make holes with a drill.
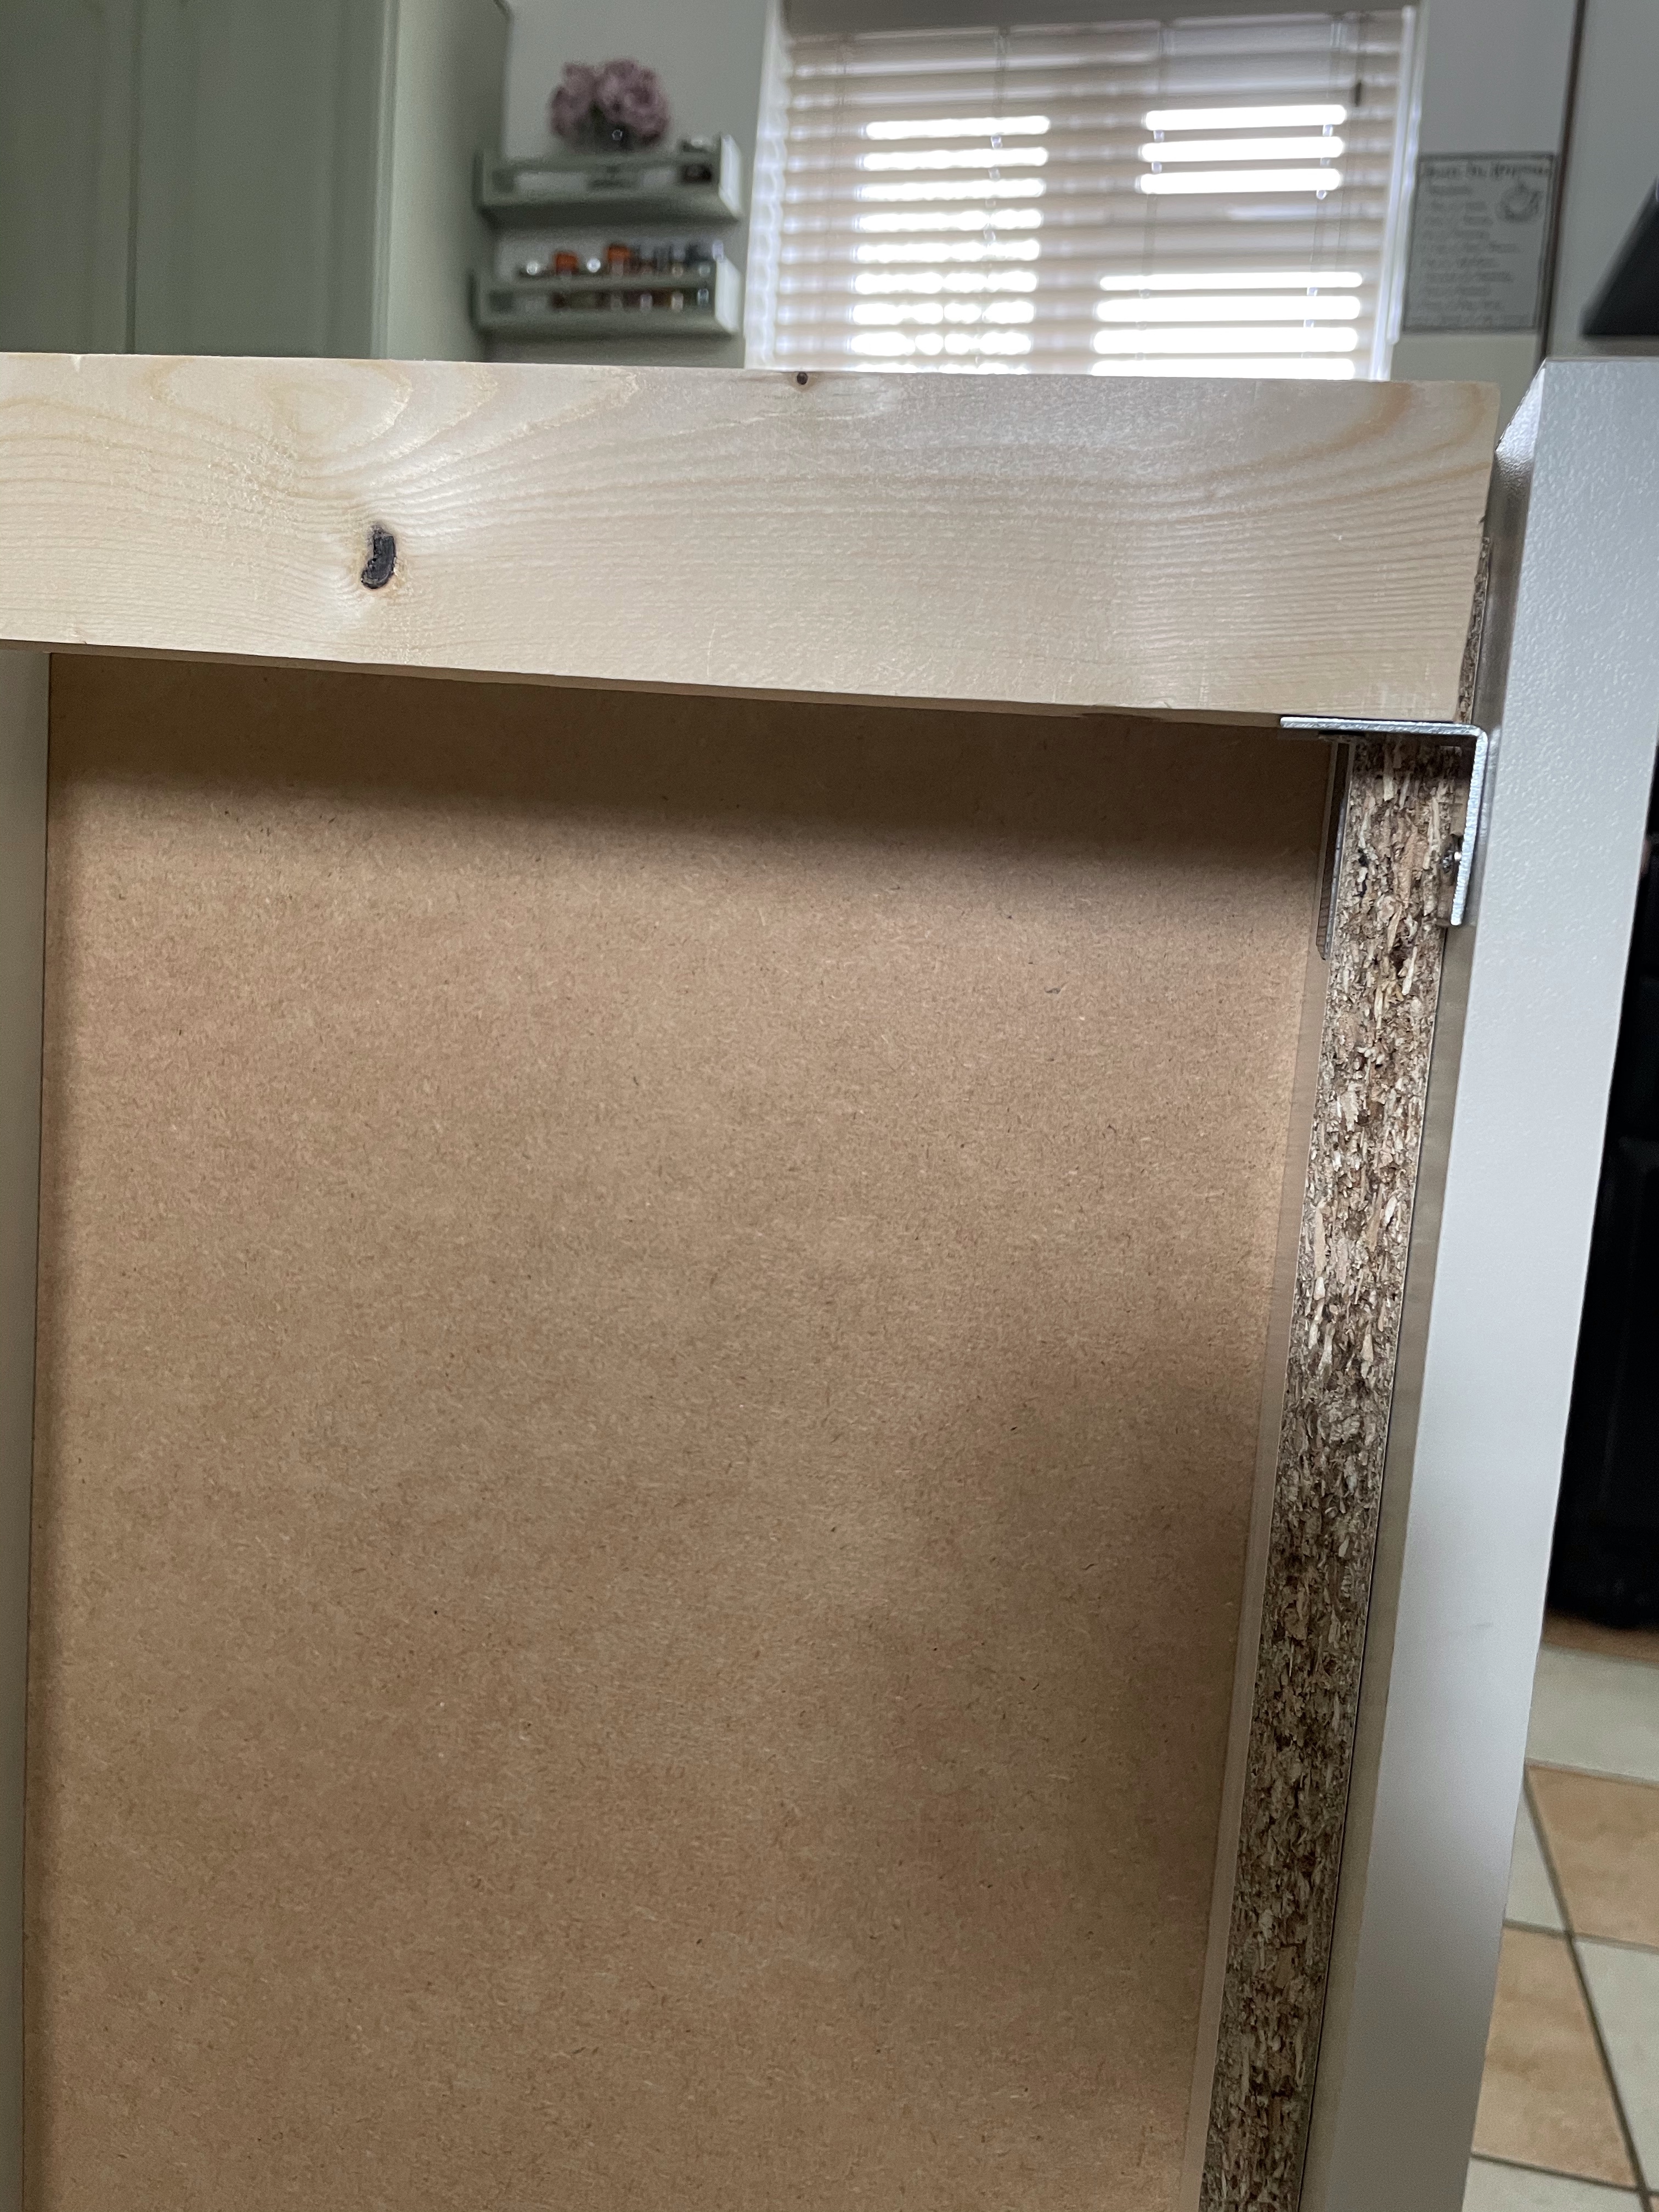
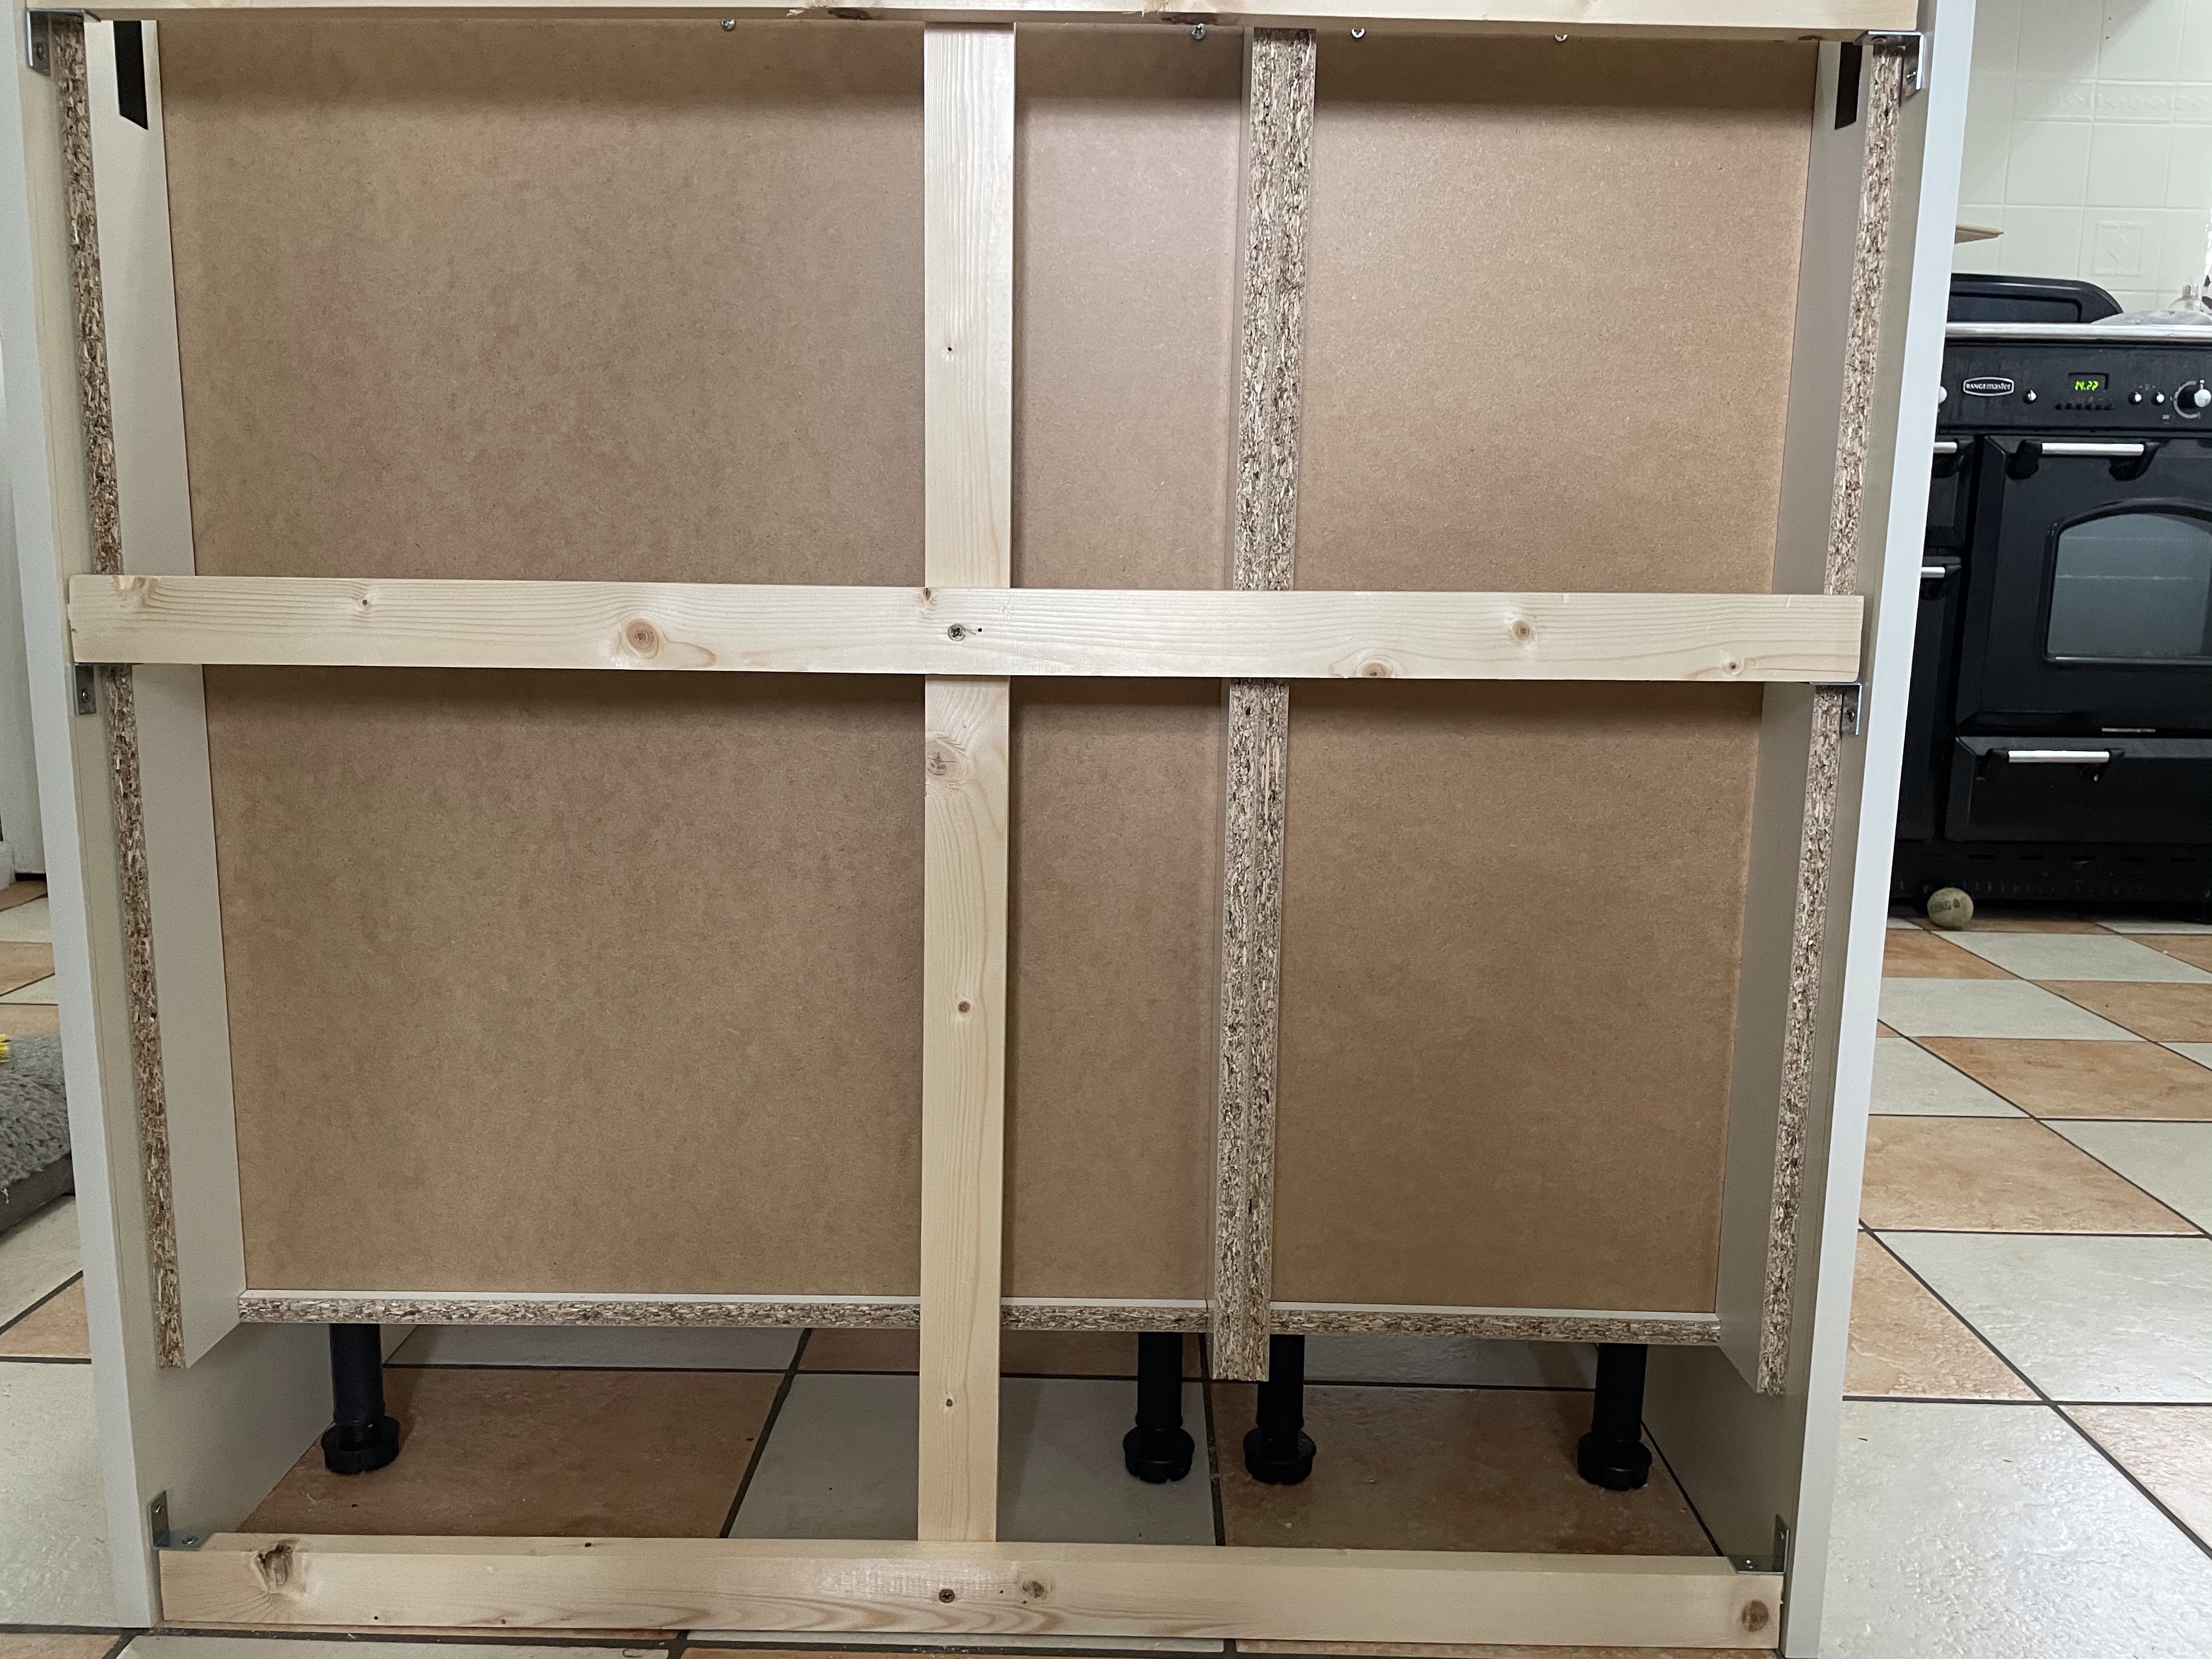
The next job was to make the framework for the outside of the island. We bought some end panels for the base units that we used and as we had decided the back of the island was going to have a decorated pine clad finish we secured the two end panels with three lengths of planed timber. This held the two end panels together and gave us a framework to attach the wooden cladding to. Once the end panels and timber were secured together with screws we moved out the base units so that we could secure the framework to the floor.
How to attach a kitchen island to the floor
We bought some angle brackets and drilled six holes into the tiled kitchen floor. We then screwed the angle brackets to the framework and attached the other part of the bracket to the floor, securing with screws and ensuring that the framework was square.
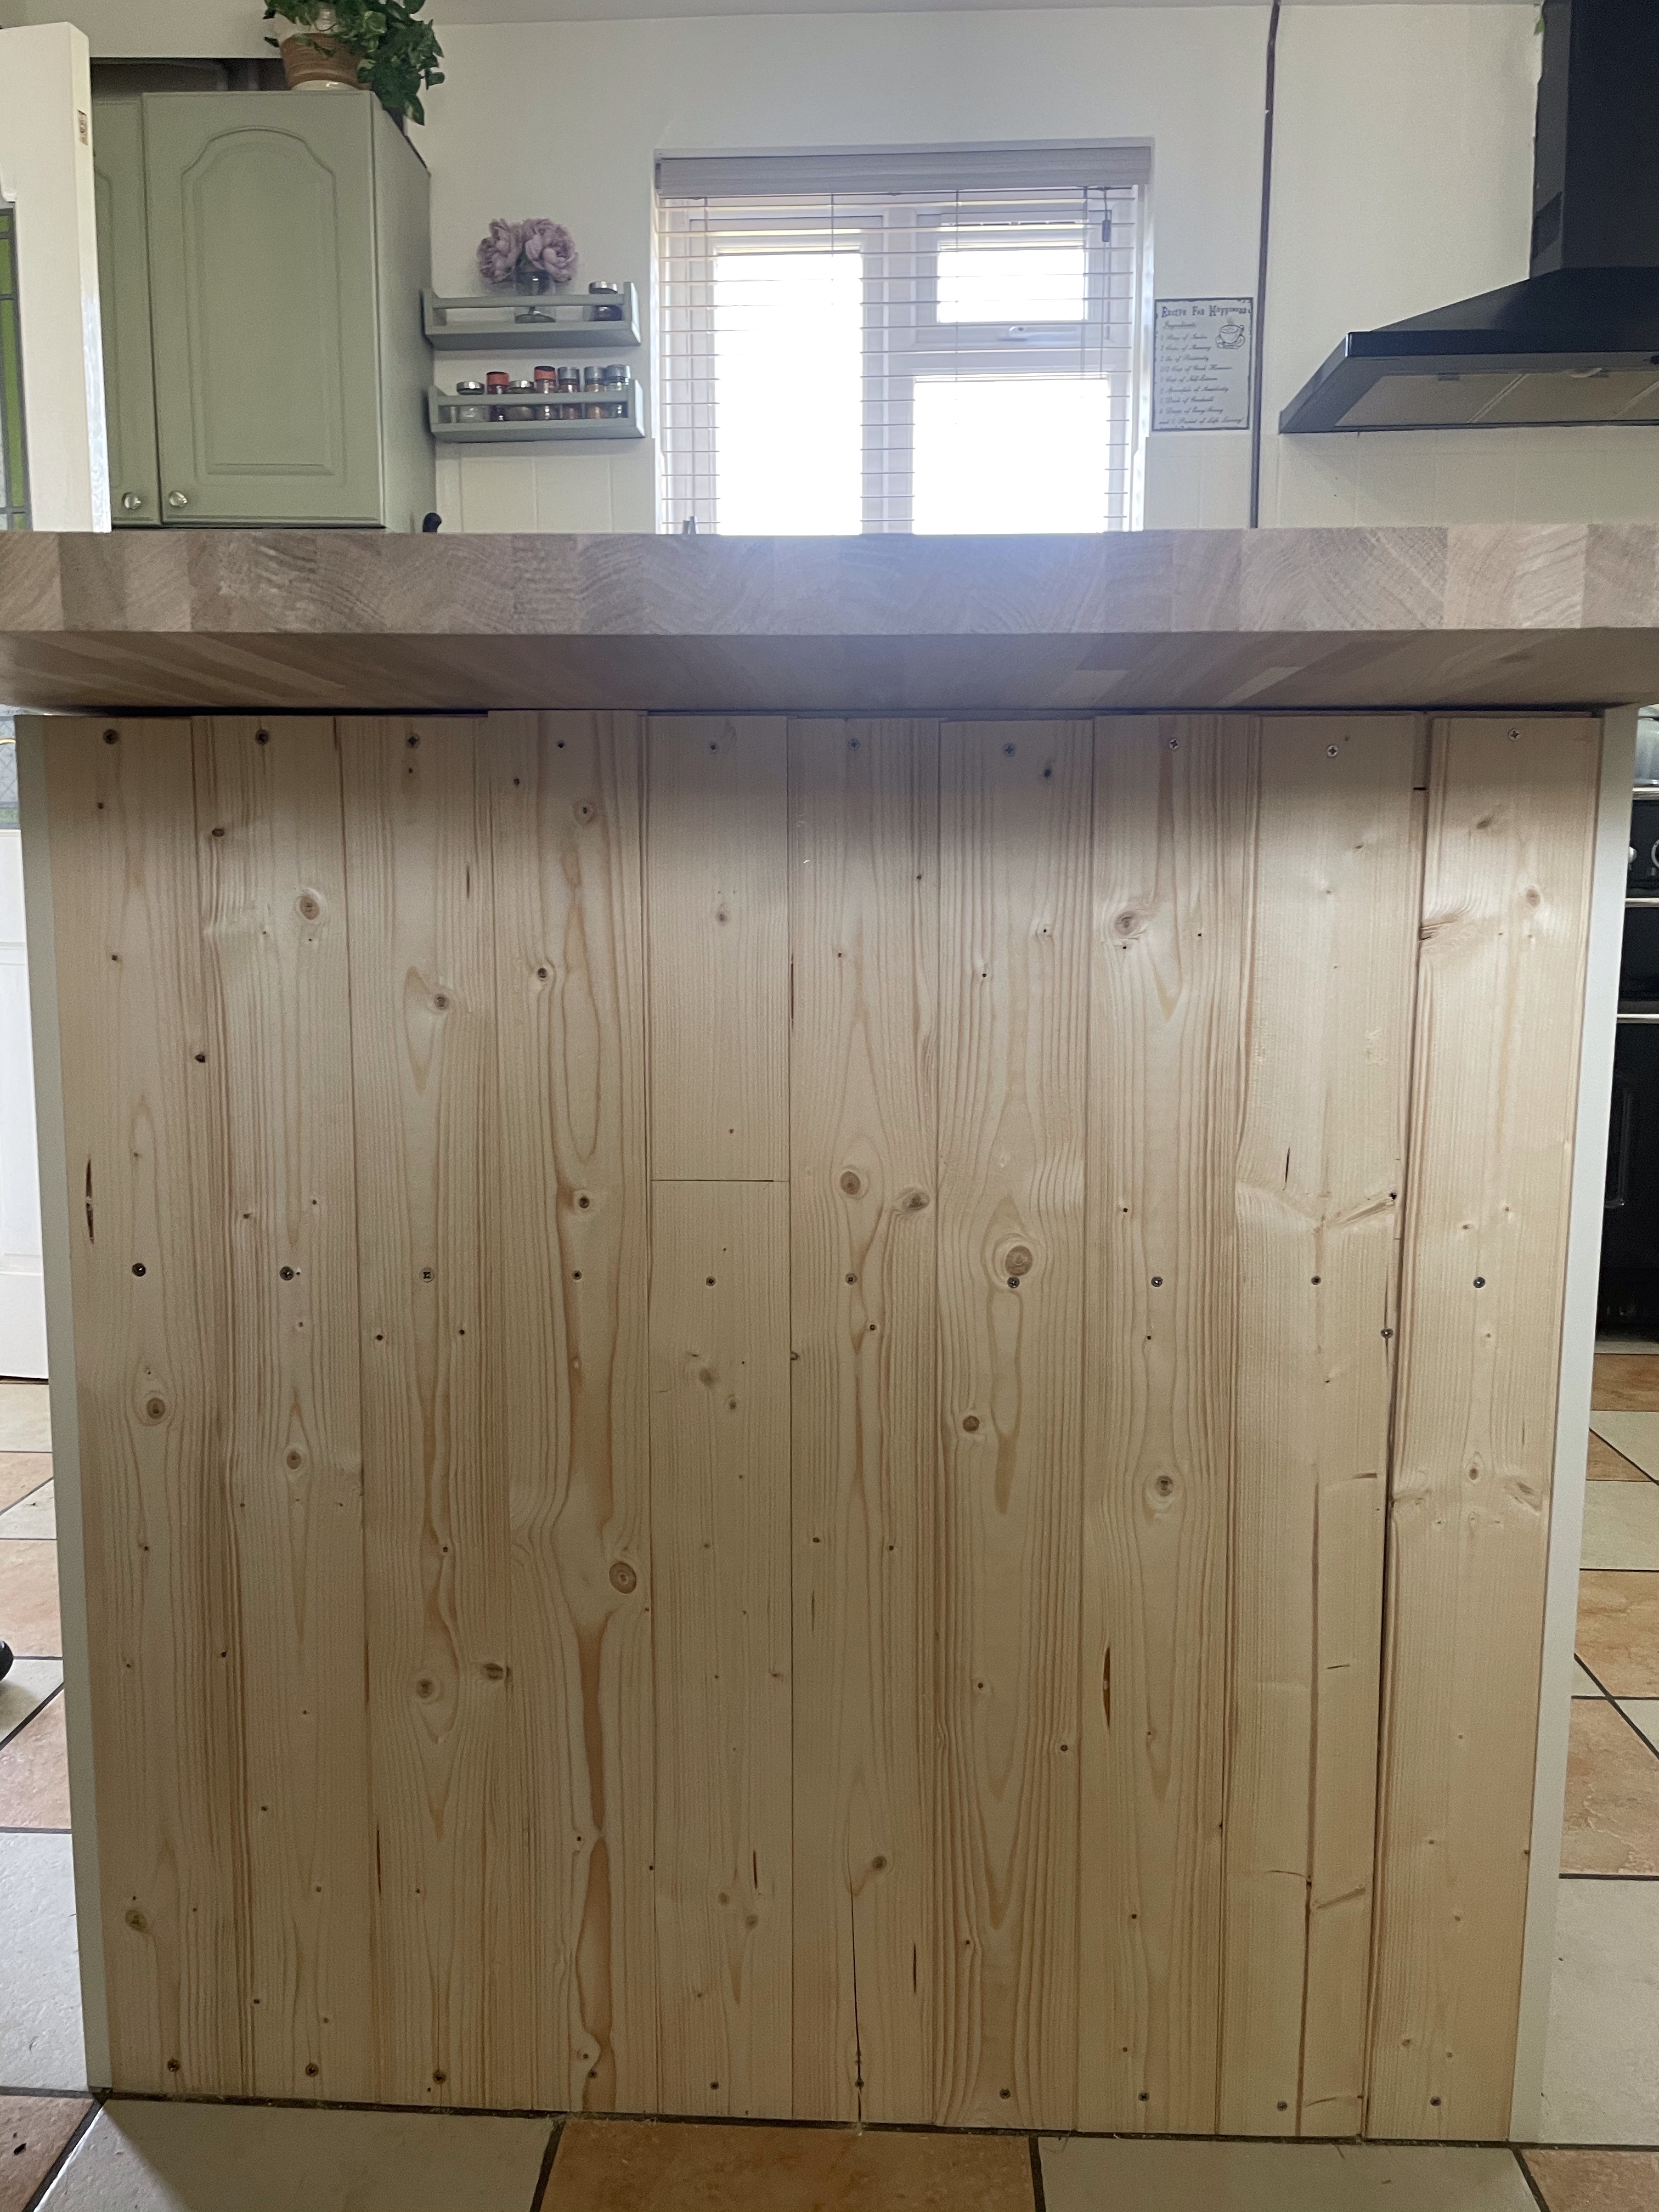
Once the island was attached to the floor we cut the cladding to size and fixed it to the back of the island using screws. The original plan was to glue this using wood glue but it didn’t really work. I then painted the back of the island using Frenchic Cream Dream and was really pleased as the colour was an almost exact match for the Wickes kitchen units. This is the colour that we painted our tiles when we revamped our kitchen recently. If you would like to read how we did this, you can find it here How to update a kitchen on a budget

Where to buy a kitchen worktop
We weren’t really sure where to start looking for kitchen worktops, particularly as the standard width for most worktops is 60cm (600mm.) It was only after doing quite a lot of research that I realised we needed to search for worktops for kitchen islands. There were quite a few companies that would make worktops to size but they were quite expensive at over £350 for a solid oak one. We looked around online and then found a worktop that was 93cm by 96cm on EBay. That was definitely a ‘meant to be’ moment – it was beautiful and the exact size that we needed! So to cut a long story short we bid on this beautiful solid oak worktop and won it at £42 – how brilliant was that! We drove to a lovely place in Berkshire to collect it and then spent a week preparing it. Did you know that if you buy a solid oak worktop it needs quite a lot of preparation work, you can’t just plonk it where it needs to go.
How to seal and protect a solid oak worktop
The first thing you need to do with your solid oak worktop is sand it to remove any imperfections. It then needs to be oiled to give it protection against any spillages, also to stop the wood drying out. I discovered that Danish oil gives a good finish and is also food safe – which is really important for a kitchen. It dries giving an almost wax-like appearance. I also found out that you need to oil your oak worktop every six months to give it the best protection. I researched and felt that Danish oil had the best reviews. We spent the week applying the oil with a day in between each coat – on the top, sides and base of the worktop.
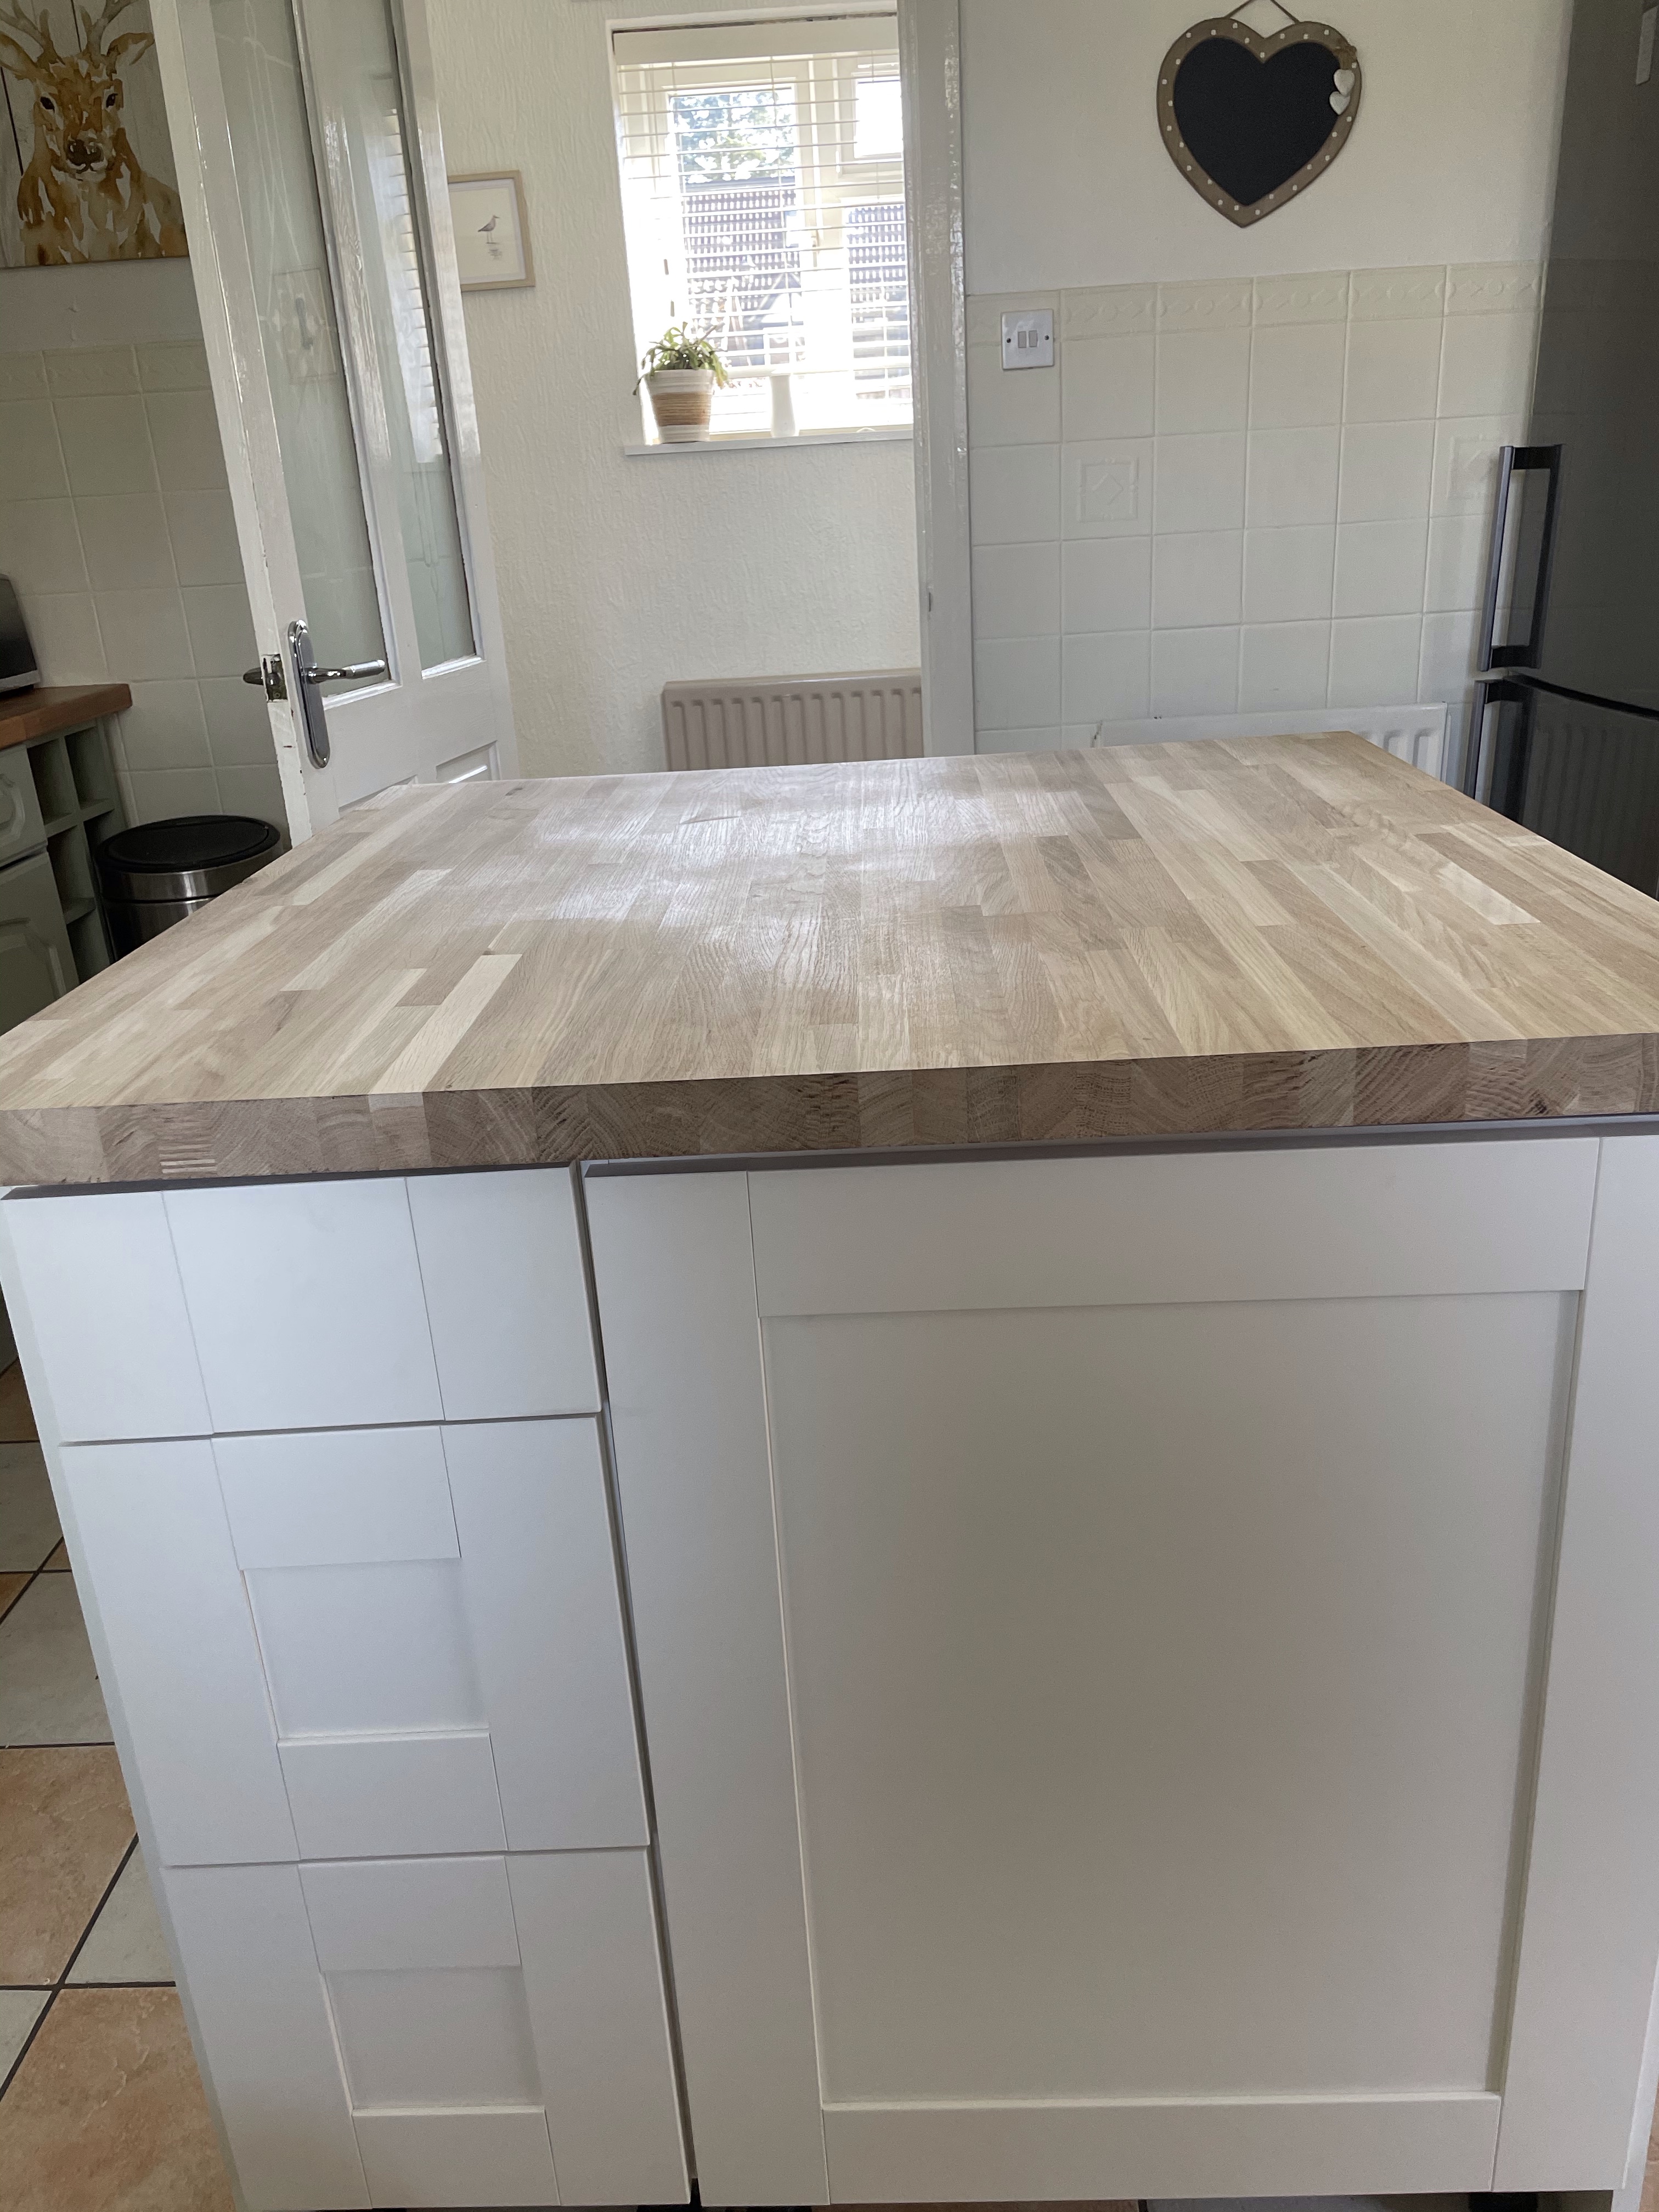

How to attach a worktop to a kitchen island
Attaching the worktop had to be done quite carefully, a chunk of oak is pretty heavy so it needs to be attached securely. We screwed angle brackets around the sides and back of the island to ensure there is no risk of the worktop moving. The overhang which we designed to use for a breakfast bar is approximately 30cm so it is not deemed necessary to have legs as a support. Saying that I thought it would be best to so I bought a leg for the island but it looked out of place so I returned it. Although not necessary I felt a little happier with some additional support so for this area we purchased some larger angle brackets, just for a bit of extra security.
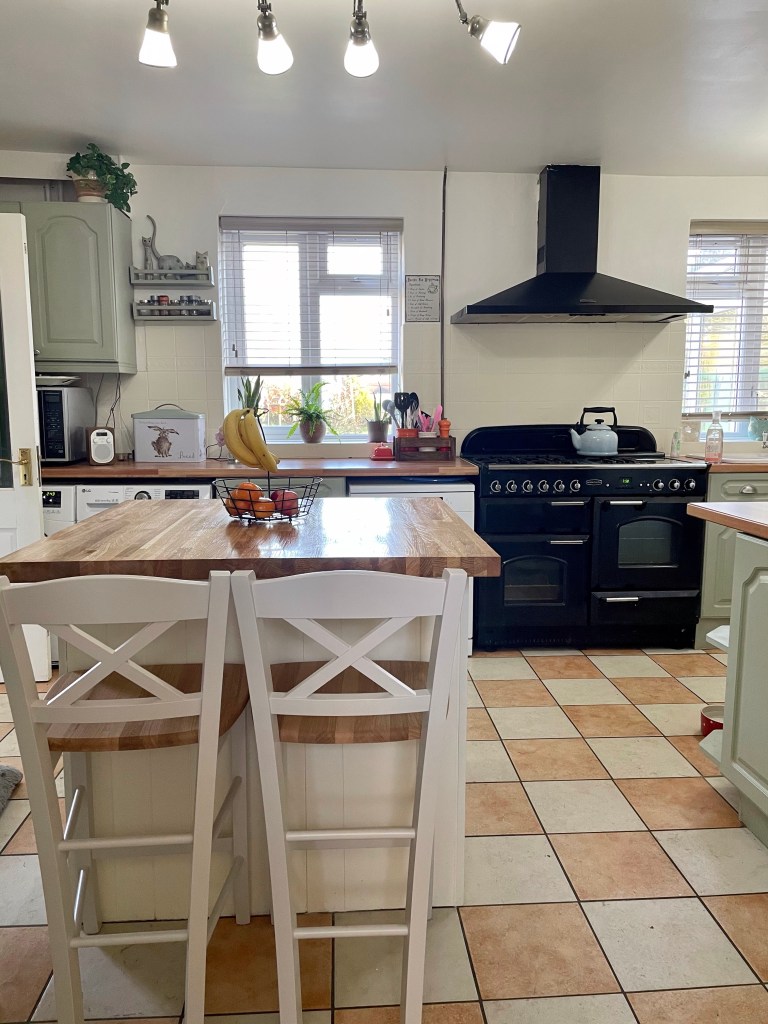
We managed to spot some beautiful stools in John Lewis which suit the style of our kitchen perfectly! They are the exact right height too so it’s lovely to now be able to sit in the kitchen.
I’m really pleased that we constructed this island, creating it ourselves has given us a really strong sense of achievement. Additionally we have been able to be in complete control of the size and the finish of the kitchen island and at a huge discount compared to the price of buying one that was made by someone else. I think altogether it cost about £300 so although perhaps not quite as professional or perfect as an island made by a joiner, it suits our little kitchen and is a very useful addition!


Hi Fiona. Great write-up – and the photos do an excellent job of illustrating the elements that you describe. Much as we’d like a kitchen island I don’t think that there is enough room – if we left a 1-metre gap all around it would only be about 5- cm wide!!
LikeLiked by 1 person
Thank you so much for reading and taking the time to comment. I think perhaps a 5cm island might be just a little too small!!
LikeLiked by 1 person