Whether you’ve got two hens, three hens, five hens or ten, there’ll probably come a time when you get taken over by chicken maths and decide to add more to your flock!
It’s an exciting time but it’s not simply a case of throwing a few new chickens into the run and expecting them to greet each other with open wings and treat each other like long lost feathery friends. It’s a process that needs to be done gradually and carefully. Chickens take their pecking order and hierarchy very seriously so will look at any newcomers, however meek and mild, as a threat to this pecking order.
What happens when you get new hens
Firstly it’s recommended best practice to quarantine your new birds for three weeks. The quarantine coop should be away from your existing coop to avoid the transfer of any diseases between your hens. Obviously we appreciate that this may not always be possible, however this is the first recommended step. Please do your research when deciding to add any new pets as this will determine whether you experience a success or a total nightmare!
How to introduce new chickens?
There are two main methods that are recommended and we’ll discuss these below:
Sneaking them in at night time
One of the suggested methods is to wait until dark so your established chickens are asleep then carefully place your new hens into the coop. The theory behind this method is that the older hens won’t notice the new hens being added to the coop during the night and then in the morning they’ll think they’ve been there the whole time.
Many people have success with this technique and if you do have a positive result with this it’s certainly a quick solution to integration. However it does come with a risk that if you don’t get to the coop early in the morning before the chickens are fully awake, there could be a problem if they take a dislike to their newcomers and there is nowhere for the new hens to escape to.
Personally I think if you attempt this method you need to be prepared to listen out for any bickering in the beginning and then open the coop just before first light so that the new hens are able to get outside if they need to. This method is also perhaps not very practical in the middle of summer when sunrise can be as early as 4 am and sunset as late as 10.25pm in the UK.
Our happy hens roost and lay their eggs in an Omlet Eglu Cube. They are brilliantly easy to clean and offer a great space for up to ten hens! Link
Look but don’t touch
Another method is to put a physical barrier between the two sets of hens so they can see each other but not get close enough to hurt each other. With this approach you will need to also ensure that each set of hens has access to fresh water, fresh food some enrichment and somewhere to sleep, if your run is completely secure and the weather is warm this can be roosting bars or a perch – it doesn’t necessarily need to be a coop, if you don’t have a spare one. This technique will help all the chickens to become gradually accustomed to each other. You will possibly experience some pecking through the barriers but they shouldn’t be able to do much damage as long as there is a physical barrier and this should prevent any feather pulling and allow the less dominant hens space to retreat.
When using the above method, you will need to make a judgement as to when the time is right to physically integrate your hens, ie when to introduce your hens to the same areas at the same time. This may require up to two weeks of keeping them entirely separately, the important thing is definitely not to rush this step. However if you try the integration and it doesn’t go well you can always go back to separating them again for an additional couple of days.
When you’ve decided the time is right to introduce your hens to each other, initially keep the original hens contained and let the new hens out to explore a free-ranging or larger area first. This will help them to find their feet and feel confident in their surroundings. After a while, let out your original hens and closely monitor this stage, observing the behaviour of all the birds. It is beneficial to move around ‘furniture’ such as logs, perches, feed bowls, peck toys etc to make the territory seem more neutral and also ensure that there are lots of distractions for all the chickens. You could also try adding extra treats, toys or perches for extra interest.
It is very likely that there will be some squabbling, even with this gentle introduction method. It’s not nice to watch but if it’s just a little bit of pecking, although distressing, this is normal as the hens establish the pecking order. If one of your hens is being constantly picked on by all the rest to the point where she can’t escape to a safe place then you will need to intervene by separating them. If this does happen, it’s important not to remove the hen that’s being bullied, you will need to remove the bullying chicken and pop her in to a separate space for a couple of days before integrating her back in. Again you will need to supervise when they are all back together again. The whole process can take 3-4 weeks but it will be well worth the patience when you have a flock of happy chickens again.
After much research we opted for an Omlet walk in run. We originally purchased a 3m by 3m run with 2m height and then added to it with an extension kit. Link We are really pleased with this run and it was definitely the right decision to make. I am confident that I can leave my girls in this run all day whether we are watching them or not. There is an integrated skirt around the whole perimeter which makes it fox proof.
Top tips to introduce new chickens
- Be patient, it’s a process that can’t be rushed. You’ll end up going one step forward and two steps back.
- Introduce them gradually, don’t just throw them all in at the deep end and hope for the best.
- Provide additional distractions in the run and move existing objects around. For example add extra treats, peck toys, move around perches, logs, branches, pots or whatever else you have in your run.
- Ensure you have two water containers and two food containers so all the hens are able to access food and water at all times without being worried about confrontation.
- Supervise introductions and make sure you are close by each time the hens are all in the same areas together, just so you can intervene if necessary.
- Don’t introduce less hens than the number you already have in your flock. Eg if you have four hens don’t just introduce one new hen as there is a strong possibility she will be bullied and picked on by the others.
- Try and introduce birds that are a similar size, if you have large breed hens it’s probably not a good idea to add very small birds as they will be vulnerable.
- Continue to monitor your chickens to ensure a successful integration!
What is pecking order?
Every flock of hens has a pecking order. There will usually be a most dominant bird who may be more assertive and think it’s her job to look after everyone else, and then an order of ranking throughout the rest of the flock. When we just had two birds for a little while it seemed they were both vying for the position of top hen as they went through a stage of trying to out-crow each other!
How we introduced our new hens
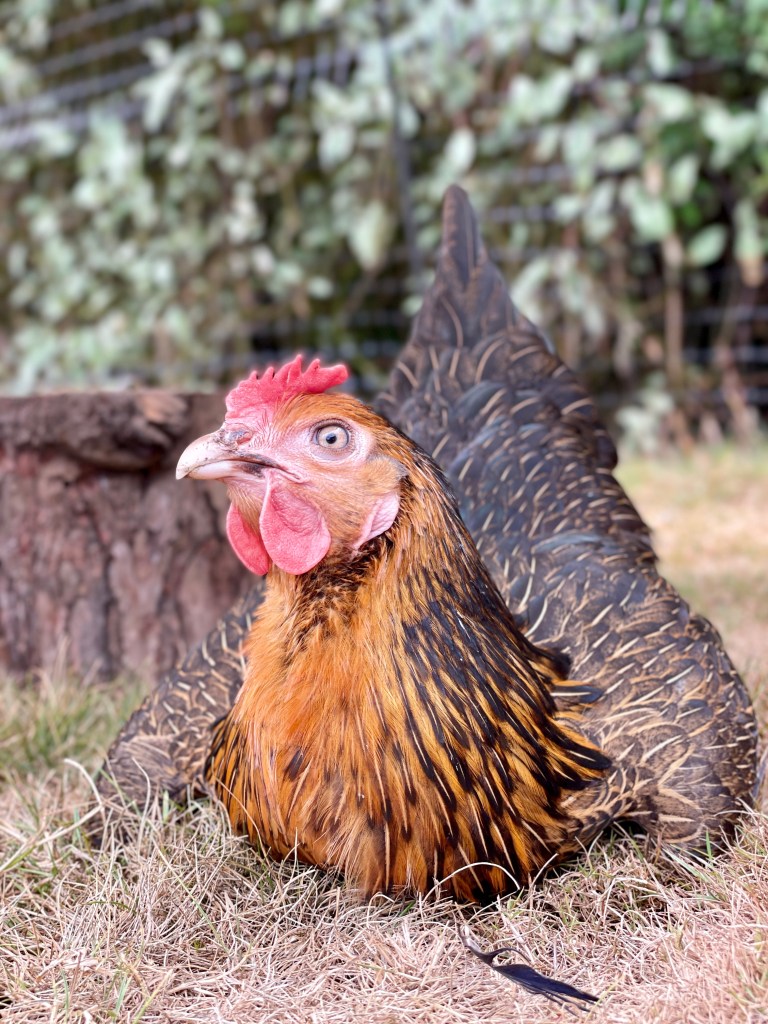
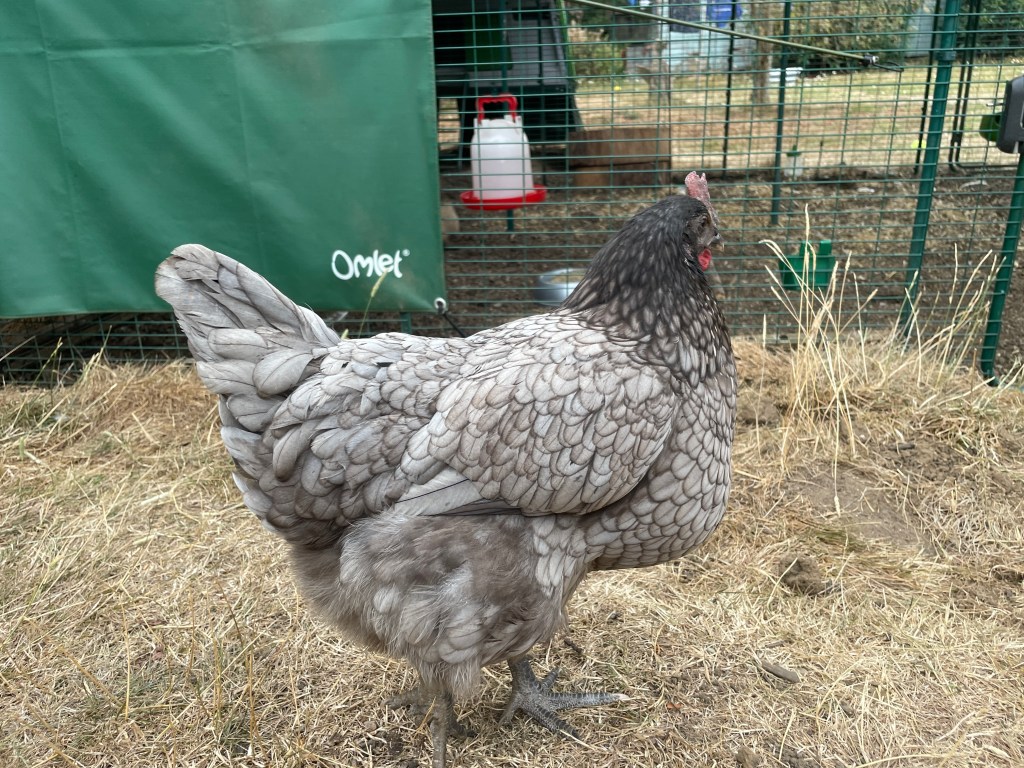
We had two hens – Bluebell a copper maran and Daisy a light Sussex hybrid. On 5th August we visited a poultry specialist and chose to get a black rock, who we’ve named Rose as she has beautiful little rosy red cheeks and ears and we also picked a bluebell who has gorgeous fluffy grey feathers with a lovely lace pattern, we’ve named her Grace.
On arrival we initially let our new girls explore the whole of the walk in run on their own for a few hours with our two established hens outside in the free-range fenced area. There was a lot of pecking through the bars, with hens almost squaring up to each other. This was disturbing to watch and made me question our decision to get new chickens. However I’m pleased we persevered! We then swapped and gave the established hens a smaller area for a while and decided after a few hours of no squawking that we’d see what happened. This was a mistake as immediately the hens were all in the same enclosure together there was chasing and pecking so we definitely learnt our lesson to have patience and not to rush the process.
We made the decision to separate our Omlet walk in run with a barrier made from a couple of sections of Omlet caging plus some chicken wire. We put our new hens in this section, purely because this area didn’t give access to the coop and our original hens were used to sleeping in the coop overnight. In hindsight however I think we should have arranged the barrier to include the coop and let the new chickens have the larger area. In the separately sectioned area we included water and food containers, a perch, a couple of logs and an unused covered cat litter box that we filled with straw for them to use for nesting/laying. We kept this barrier in place for about a week and a half although we did integrate them at several times each day when we were able to supervise them all together.
Take a look at some of the fantastic equipment available from Omlet Link
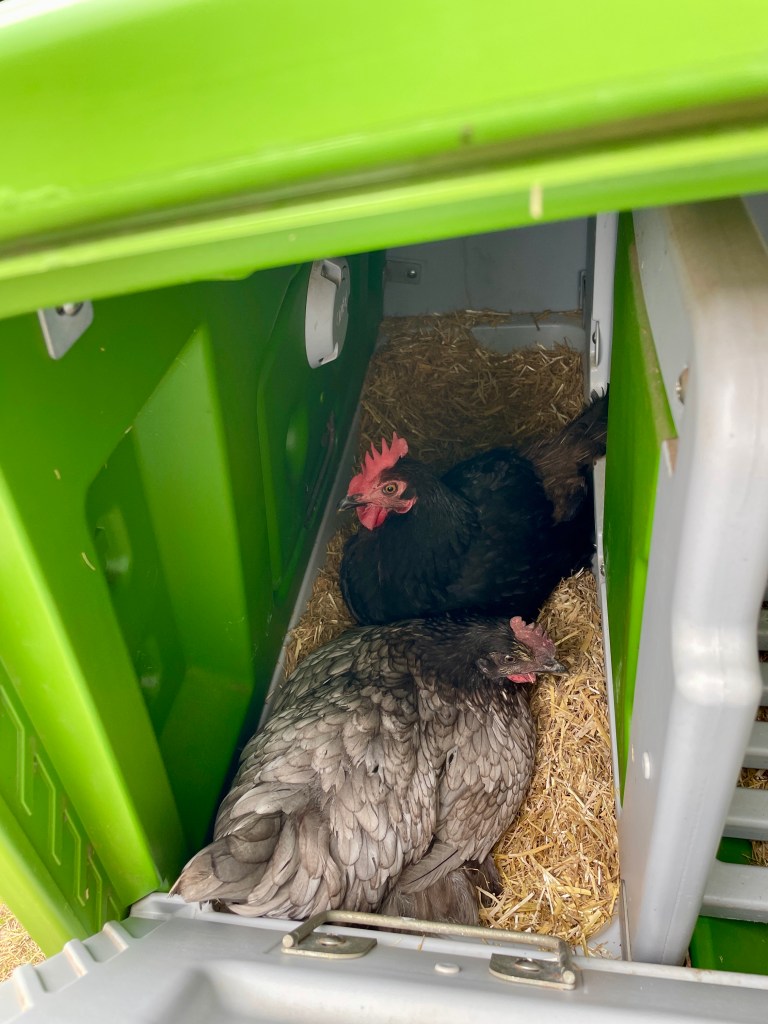
We made the decision to take down the barrier when the hens appeared to be almost ignoring each other and there was no animosity between the pairs. We are fortunate in that we have a walk in run that’s 3m by 4m and a ‘free-ranging’ area that’s enclosed by Omlet fencing. This is an additional area of approximately 9m by 4m. Since taking down the barriers we have noticed that Rose and Grace are still choosing to take themselves to bed on a perch rather than going in to the coop so the last four nights we have moved them into the Cube once it’s dark, carefully listening for an initial squabbling and for the first two mornings we ensured we opened the door before it was light and observed all the birds exiting the house. So far so good with this but we are hoping the new girls start to take themselves into the Cube at night as they are happily going in there during the day to lay!
Please take a look at the Omlet website for all your chicken needs, the stuff is really good quality and comes with a two year guarantee. As a member of the Omlet affiliate scheme I will receive a small commission at no extra cost to you if you make a purchase via my links. Thank you so much for your support. PS They also stock items for cats, dogs and other small animals!
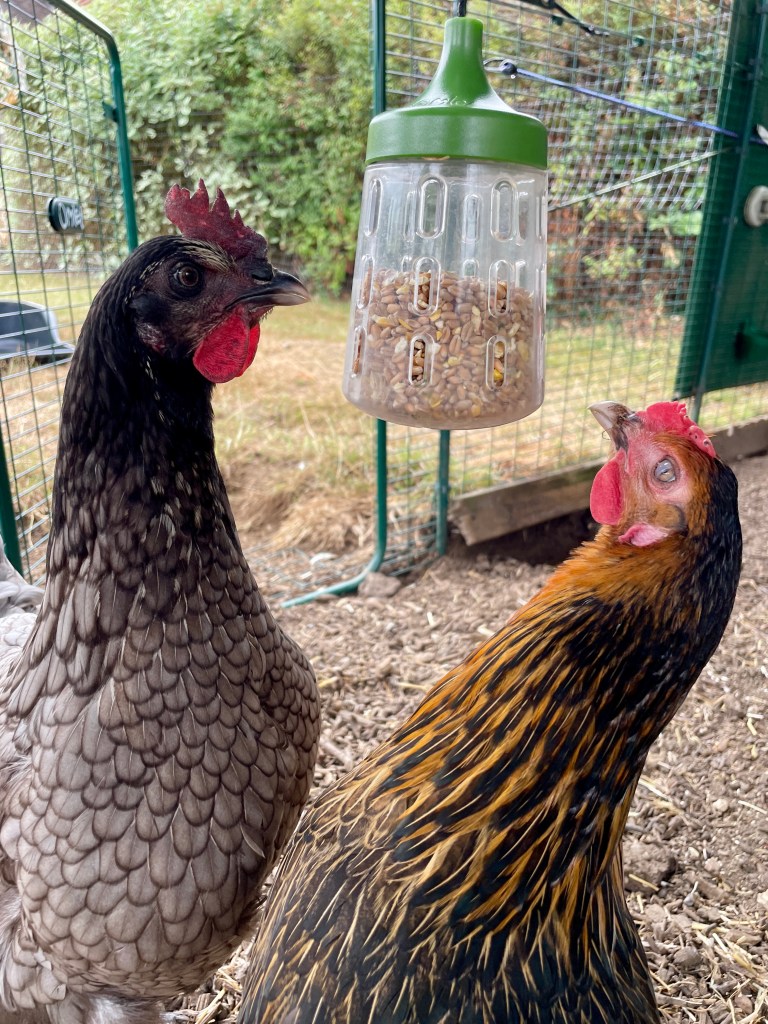
As at 22nd August, so two weeks and three days in, we’re quietly confident that the integration is going quite well. Unfortunately we’re experiencing pecking but it’s still early days. Our two established girls, Daisy and Bluebell, are the ones that are initiating the chasing and pecking. It’s a shame that hens can be so mean! Rose and Grace our new girls are so docile and gentle, they’ve not pecked back once, they just tend to run away and the others don’t chase them again once they’ve moved away. For most of the time though they seem to be able to tolerate each other’s company and sometimes they’ll be scratching around and standing close to each other, it’s just the very occasional reminder that they were there first. I’ll keep you updated!
LOOK I’m so clucking chuffed! Omlet have only gone and used one of my photos for their website Omlet peck toys


Thank you you for sending your latest country rambles. Love you blog, you have such a talent for writing in an amusing, descriptive, gentle and informative way.
I thought I could leave a comment but not really sure what to put! Congratulations on having your photo used by Omlet, well done.!!
Lolxxx
LikeLiked by 1 person